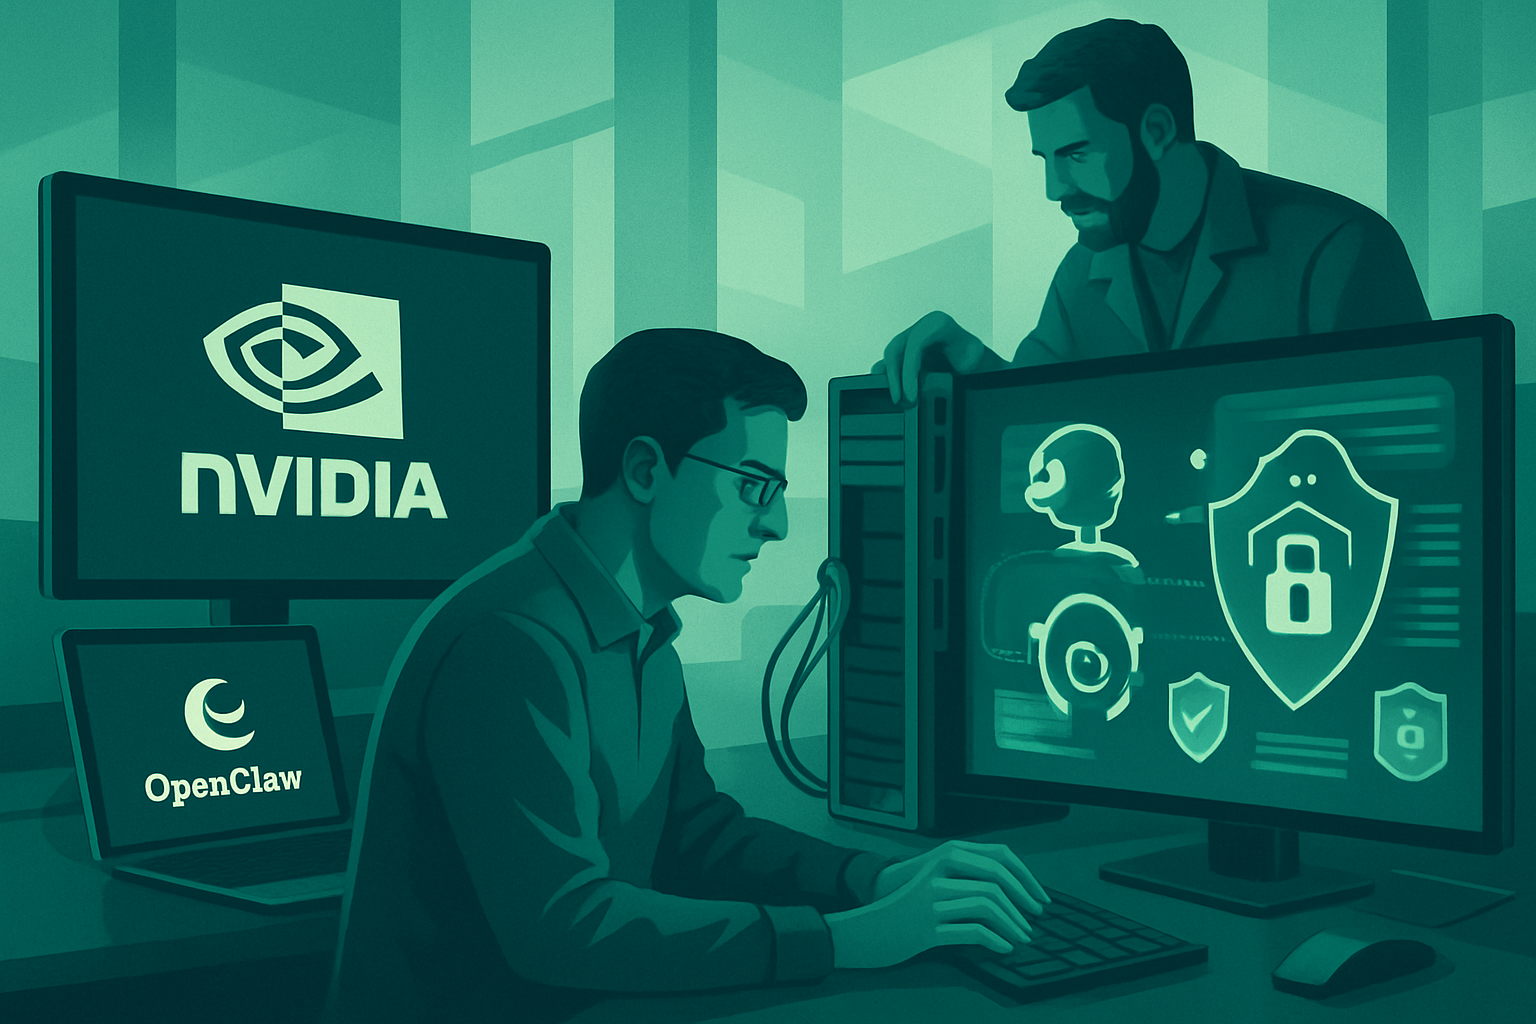
Nvidia and OpenClaw: A Partnership to Secure AI in Business
Le brief IA que les pros lisent chaque soir
Les 7 actus IA du jour, décryptées en 5 min. Gratuit.
Inclus dès l'inscription : notre sélection des meilleurs guides & comparatifs IA.
Choisis ton rythme
Gratuit · Pas de spam · Désabonnement en 1 clic
Nvidia and OpenClaw: A Collaboration to Secure AI in Business
Nvidia and OpenClaw have joined forces to develop NemoClaw, a solution aimed at enhancing the security of artificial intelligence applications in the enterprise. This initiative seeks to address growing concerns regarding data security in professional environments.
A Response to Concerns Surrounding OpenClaw
OpenClaw, an autonomous artificial intelligence agent, has sparked debates due to its operation without strict safeguards. While its potential is undeniable, some experts emphasize that its deployment in businesses could pose risks if adequate security measures are not implemented.
NemoClaw: An Additional Layer of Security
NemoClaw is not a new agent but rather a security layer designed for OpenClaw. It has been developed to protect sensitive information and prevent data leaks. The innovation relies on NvidiaOpenShell, which integrates with the command line of OpenClaw to filter actions and enforce compliance rules. For instance, if OpenClaw attempts to transfer data to an unauthorized destination, NvidiaOpenShell intervenes to block this action.
Compatibility and Limitations of NemoClaw
NemoClaw is designed to be agnostic, meaning it is compatible with various hardware. However, some users believe that the tool could benefit from more rigorous controls to maximize its effectiveness.
Setting Up NemoClaw: A Step-by-Step Guide
To illustrate how NemoClaw works, we will create an agent dedicated to customer support and quote management. The agent will analyze incoming emails and generate draft quotes in PDF format, which will be stored in a secure folder for validation.
Preparing the Environment
To install NemoClaw, you need a machine running Linux (Ubuntu/Debian) or macOS. On Windows, the use of WSL (Windows Subsystem for Linux) is required. We are working here on Windows 11, which includes WSL to enable the operation of NemoClaw.
Step 1: Install WSL
Docker Desktop uses WSL 2 as the virtualization engine on Windows. To install WSL, open PowerShell as an administrator and run the installation command. This command activates the necessary optional Windows features, downloads the latest version of the Linux kernel, and installs the default Ubuntu distribution.
Step 2: Open the Linux Terminal (WSL)
Once WSL is installed, you need to install a Linux distribution. In the Windows Terminal, select "Ubuntu." If Ubuntu is not yet installed, use the following command:
wsl --install -d Ubuntu
Upon first launch, create a username and password. Then, prepare the system with the following command:
sudo apt update && sudo apt-get install -y curl binutils zstd
Step 3: Install the Local AI Engine (Ollama)
Ollama is the program that allows you to run AI locally, without going through the cloud. To install it, run the following command:
curl -fsSL https://ollama.com/install.sh | sh
Next, download the AI model suitable for your PC: qwen2.5:1.5b. This model is lightweight and compatible with most configurations.
ollama pull qwen2.5:1.5b
Start Ollama manually with the following command:
sudo systemctl start ollama
To verify that the model is working correctly, run:
ollama run qwen2.5:1.5b
Step 4: Install Docker
Install Docker Desktop, which is used by NemoClaw to create a secure environment. The installation on Windows 11 is straightforward and guided.
Step 5: Deploy the NemoClaw Agent
Copy this block of text into the Ubuntu terminal to download and run the NemoClaw installation script with preconfigured parameters:
NEMOCLAW_NON_INTERACTIVE=1 \
NEMOCLAW_YES=1 \
NEMOCLAW_PROVIDER=ollama \
NEMOCLAW_MODEL=qwen2.5:1.5b \
NEMOCLAW_LOCAL_INFERENCE_TIMEOUT=300 \
NEMOCLAW_SANDBOX_NAME=agent-synthese-pme \
bash -c "NEMOCLAW_ACCEPT_THIRD_PARTY_SOFTWARE=1 $(curl -fsSL https://www.nvidia.com/nemoclaw.sh)"
The NvidiaOpenShell security is automatically activated via the NEMOCLAW_SANDBOX_NAME parameter.
Setting Up the Agent
The agent operates in three key steps:
- [Client Email] ➔ (Analysis by Qwen2.5) ➔ [If Quote Requested] ➔ (PDF Generation) ➔ [Secure Folder]
Step 6: Prepare the Environment in Ubuntu
Install pip, the Python package manager, to install the necessary libraries: requests and reportlab.
sudo apt install python3-pip
Step 7: Create the "Secure" Folder
Create a folder on the computer to store the generated quotes in PDF format.
mkdir -p ~/devis_a_valider
Step 8: Write the Agent Code
Create a file named agent_devis.py and simulate the receipt of a client email to test the AI's response.
Open the command line text editor:
nano agent_devis.py
Paste the following code into the editor to simulate the analysis of an email and the generation of a PDF if a quote request is detected.
cat > agent_devis.py << 'EOF'
from reportlab.lib.pagesizes import letter
from reportlab.pdfgen import canvas
import requests
import os

email_client = """
Bonjour l'équipe,
Je souhaiterais obtenir un devis standard pour votre prestation de nettoyage de bureaux pour notre local de 100m2 s'il vous plaît.
Cordialement, Bruno.
"""

print("1. Analyse de l'e-mail par l'IA...")
url = "http://127.0.0.1:11434/[api](/glossaire/api)/generate"
payload = {
    "model": "qwen2.5:1.5b",
    "[prompt](/glossaire/prompt)": f"Analyse l'e-mail suivant et détermine si le client demande un devis.\nRéponds UNIQUEMENT par le mot 'OUI' ou le mot 'NON', rien d'autre.\nE-mail du client : {email_client}"
}

response = requests.post(url, json=payload)
resultat_ia = response.json()['response'].strip().upper()

if "OUI" in resultat_ia:
    print("➔ L'IA a détecté une demande de devis ! Génération du PDF en cours...")
    chemin_pdf = os.path.expanduser("~/devis_a_valider/brouillon_devis_bruno.pdf")
    c = canvas.Canvas(chemin_pdf, pagesize=letter)
    c.drawString(100, 750, "--- BROUILLON DE DEVIS GENERE PAR L'AGENT ---")
    c.drawString(100, 710, "Client : Bruno")
    c.drawString(100, 690, "Prestation : Devis Standard (A analyser par un humain)")
    c.drawString(100, 670, "Contenu de la demande :")
    email_propre = email_client.strip().replace('\n', ' ')
    c.drawString(100, 650, f"'{email_propre[:60]}...'")
    c.drawString(100, 550, "Statut : EN ATTENTE DE VALIDATION HUMAINE")
    c.save()
    print(f"Succès ! Le PDF a été sauvegardé dans : {chemin_pdf}")
else:
    print("➔ L'IA a déterminé que ce n'est pas une demande de devis. Aucune action requise.")
EOF
To save and exit the Nano editor, press Ctrl + O, then Enter to save the file. Then press Ctrl + X to exit the editor.
Step 9: Run the Agent
Before running the agent, install python3-venv to create Python virtual environments:
sudo apt install python3-venv
Create a virtual environment with the following command:
python3 -m venv ~/mon_agent
Activate it:
source ~/mon_agent/bin/activate
Install the required libraries inside this environment:
pip install requests reportlab
Finally, launch your agent with this command:
python3 agent_devis.py
The agent analyzes the text of the simulated email. If a quote request is detected, a PDF file is generated and securely stored.
Going Further: Industrializing the Agent
To maximize the efficiency of this agent in your business, gather your reference documents such as FAQs, pricing grids, and internal policies.
Brief IA — L'actualité IA en français
L'essentiel de l'actualité de l'intelligence artificielle, décrypté et expliqué chaque jour.